The Dirt: Good Intentions
It may seem like spring will never come, what with the puddles of ice under parked cars, and the banks of dirty snow lining the sidewalks, but if you look at the fuzzy buds on the trees growing fatter by the week, you know winter is almost done. Already you can see the dark pink…


It may seem like spring will never come, what with the puddles of ice under parked cars, and the banks of dirty snow lining the sidewalks, but if you look at the fuzzy buds on the trees growing fatter by the week, you know winter is almost done. Already you can see the dark pink buds of the eastern redbud trees if you look closely. Four or five weeks from now, we’ll enjoy the yellow blooms of daffodils and forsythias, and in two months, it will be time to replant tomato seedlings.
So, as odd as it may seem after weeks of below-freezing temperatures and yet more snow yesterday, this is the perfect time to start new things from seeds! Instead of starting indoors, having to remember to keep everything moist at all times, which can be a challenge in a typical dry and hot New York apartment, I am inviting you to put everything outside in recycled homemade “greenhouses” and let nature take its course.
You can start vegetables, herbs, salads or flowers, or mix and match as you wish. I use empty plastic gallon jugs I had initially bought to prepare for Hurricane Sandy, but other clear plastic food containers (juice or milk, for example) work.
You will need:
Six or more gallon jugs, depending on how many seedlings you want;
a sharp large knife or handsaw;
a screwdriver;
a bag of potting soil;
a roll of electrical tape;
one black permanent marker;
small packets of seeds of your choice.
The first step is to rinse the jugs (but keep the caps.) Then, with the screwdriver, punch three or four holes on the bottom and four more on the top half. With the marker, trace a line roughly halfway by volume. You will cut about half an inch above that line, using your large knife or handsaw. Leave a little hinge by the handle, maybe about an inch or so. If you are a bit over enthusiastic and cut all the way through, they will still work, but they are harder to tape in place.
All right, so far it’s been a clean job; you may want to move outside for the rest, we’re about to open the bag of soil. Fill the bottom half of the cut jugs with soil to the line, shake them gently to settle the soil and remove pockets of air, and drop the seeds according to the packet instructions. Usually seeds need to be buried at a depth about twice their diameter, so small salad or onion seeds can be just sprinkled on top, but sunflower seeds need to be about an inch down in the dirt. With the electric tape, seal the jugs all the way around, put the cap back on, and write the date and the seed name on the tape. It’s better to do one mini-greenhouse at a time, seed, tape, name or you may have surprises in eight weeks.
Place your greenhouses in a sunny spot, and forget them until the snow melts and the days cross back over into the 50s. At that point, you can take off the caps.
The seedlings can be transplanted into the ground after they get their true leaves (the second set of leaves off the stem), or once the danger of frost is completely past (usually after mid-April), whichever is later. It means some of your seedlings might be ready to be transplanted by April 13, while some others need another two or three weeks to develop in their greenhouses.
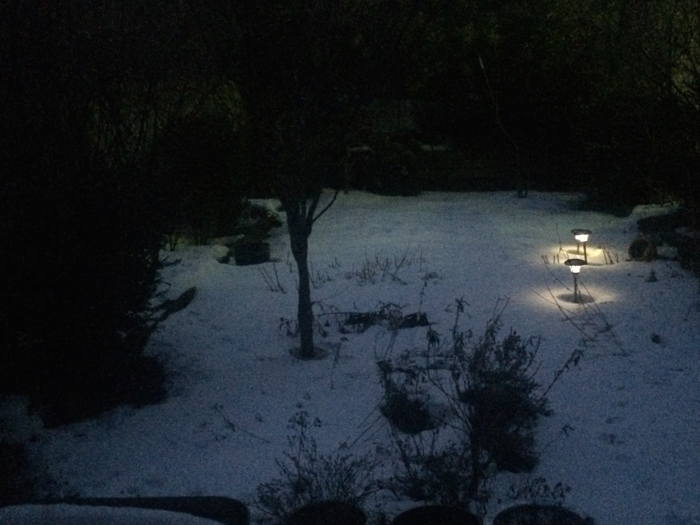
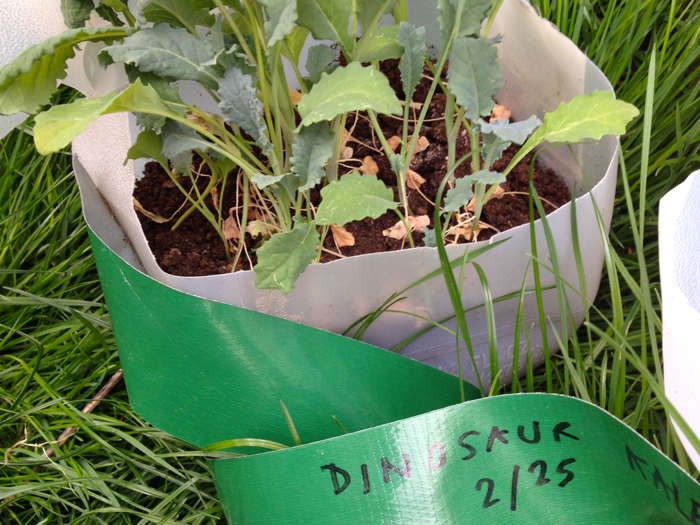
Below, a picture from my mini-greenhouses last year, taken on April 25. Above, my lunar backyard in deep freeze.
The Dirt is a monthly column that explores gardening in Brooklyn by Brownstoner commenter and Brooklyn garden designer Marie-Helene Attwood of Edible Petals.


What's Your Take? Leave a Comment